Trail Markers, Blazes, and Spring Paths: A Beginner's Navigation Guide
The paint is easy to miss the first time. Three short stripes on a beech trunk, slightly faded, at about chest height — and then nothing for two hundred meters. New hikers often decide the route is unmarked and turn back to the car. It isn't. Marks come at intervals, not continuously, and learning to read that rhythm is most of what trail navigation asks of you. It matters more than usual on spring paths, where a trail tends to split toward water and the wrong branch climbs to a dry ridge instead of a stone trough running cold.
What a Blaze Actually Tells You
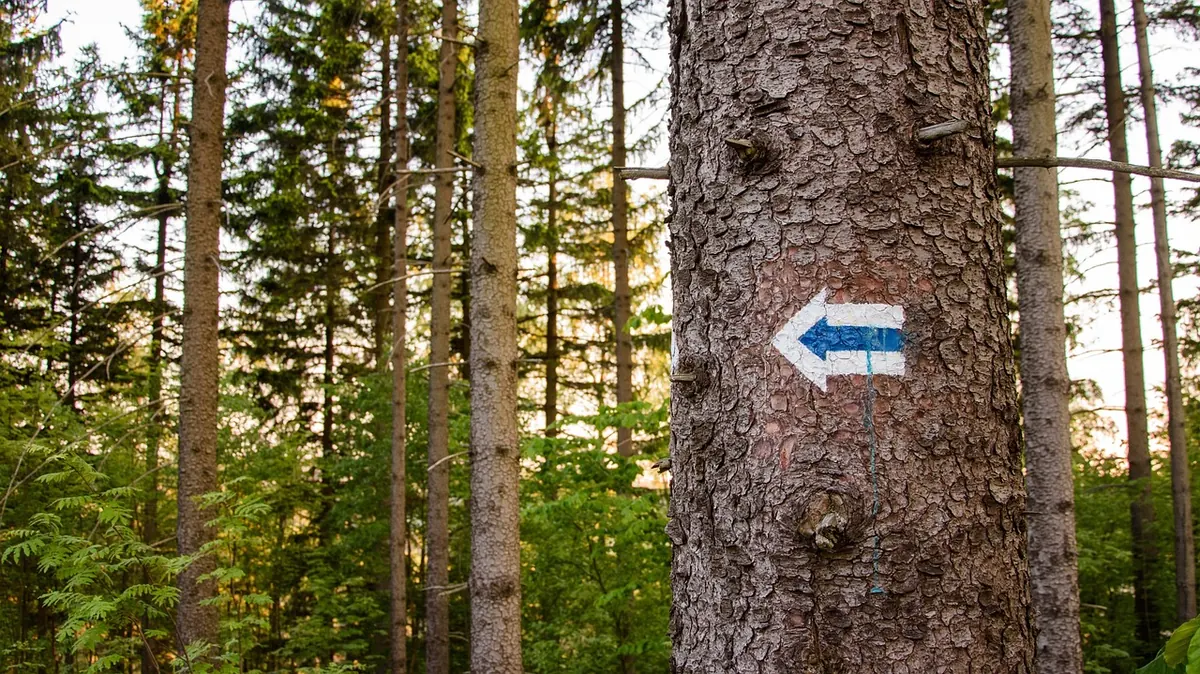
A blaze is a deliberate mark — paint, carved wood, a metal plate — that confirms you are on the intended route. That's all it says. It doesn't tell you where you are in the landscape, how far you've come, or whether the spring ahead is flowing. Treat it as a series of small confirmations rather than a map.
The vocabulary is simple once you know it. A single mark means continue. Two marks stacked one above the other, or offset with the upper one leaning in the direction of the turn, warn of a change of direction ahead. A mark with an arrow or a bent shape points the way when the path is ambiguous. Beyond that, spacing varies wildly: a well-travelled route may be blazed every fifty meters on open ground but only every few hundred in dense forest, where trunks are plentiful.
Red and White, and Other Local Languages
Marking systems are regional. Learn the one under your boots before you judge a trail by its paint.
The Italian standard
On most official trails in Italy you'll see a rectangle of red paint with a white band through the middle, or three horizontal stripes — red, white, red. Volunteer maintainers, including the Club Alpino Italiano, paint them on rock and trunk, and the trail number often appears beside the mark or on a small plate. Where a number is shown, follow the number, not just the colour: several routes can share a corridor and then divide.
Elsewhere in the world
In the United States, the long Appalachian Trail uses a single white rectangle, while blue blazes commonly mark side paths — including the short spur down to a water source. If you are walking a white-blazed trail and the marks turn blue, you have left the main route. Double blazes of any colour still mean a turn is coming.
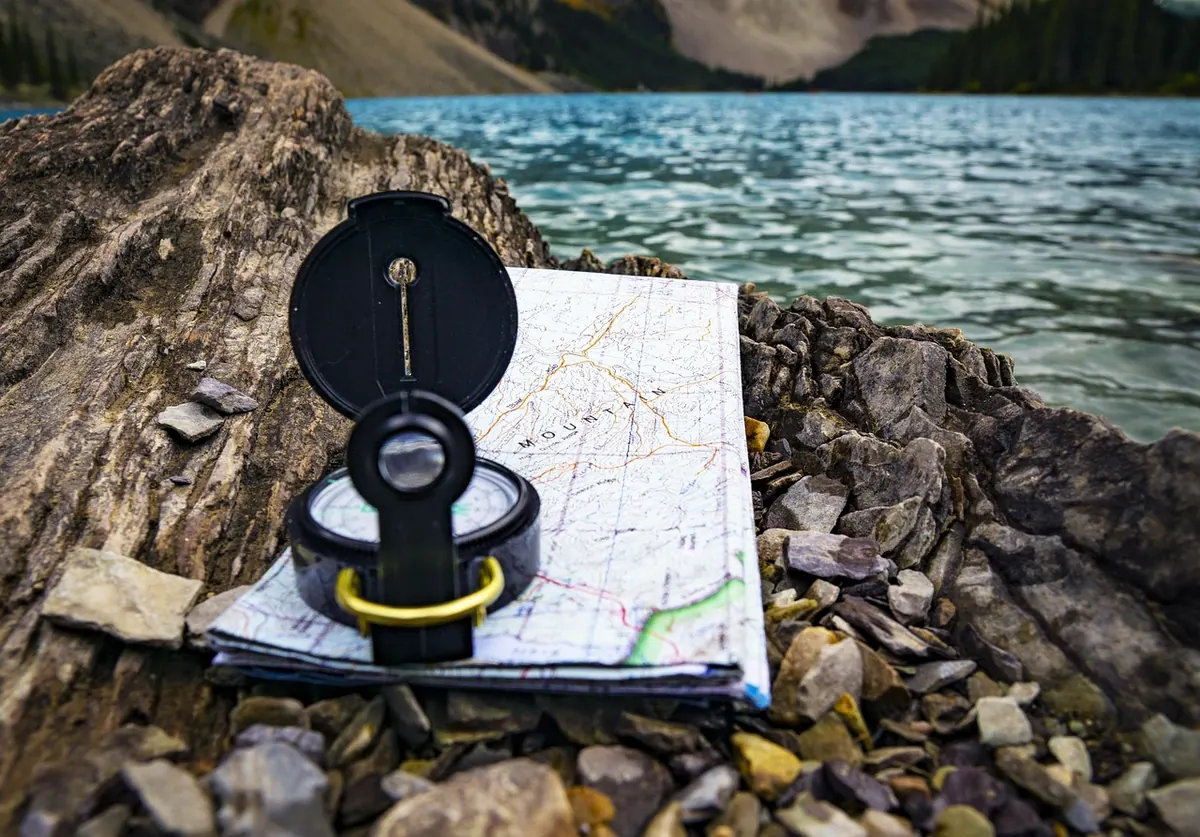
Park and regional systems frequently invent their own colours and symbols, so the legend on your map is the authority. Photograph it at the trailhead. It takes four seconds and saves a lot of standing around at junctions.
Signs, Cairns, and the Space Between Marks
Wooden signposts at junctions usually list a destination and a walking time rather than a distance. Those times are calculated for a steady hiker with a light pack; use them as a baseline and adjust honestly for your own pace, group size, and the climb involved. A sign reading forty minutes that takes you seventy is not a lie — it's an average.
On open rock, look for cairns: stacked stones, sometimes with a painted band. On meadow crossings, look for a worn line in the grass and the faint sheen of compacted ground. Both are legitimate clues, but neither is a substitute for official marking.
Ribbons, tape, and chalk arrows deserve caution. Some are left by race organisers and stripped within days; some mark unofficial shortcuts; some are simply old. Follow them only if they match the route on your map.
Reading Water on the Map
Springs have their own cartographic marks, and they are worth learning properly if water is part of your plan.
What to look for
- A small blue dot, circle, or droplet symbol, often with a short blue line running from it.
- Place names: sorgente, fonte, acquedotto, pozza, and regional variants in local dialect.
- Position in the terrain: springs sit near the head of a valley, in a fold of the slope, or just below a contour line that suddenly kinks inward.
What the blue symbols won't tell you
Most maps cannot show whether a spring is running in August. A dot may mark a reliable source or a seep that dries by June. Where the legend distinguishes perennial from seasonal sources, take it seriously. Otherwise, plan as though any single spring might be dry: carry enough to reach a second one, and learn to notice the wet ground, moss, and water-loving plants that often appear a few metres before the actual outlet.
Spring water looks clean and can still carry pathogens. Carry a filter or chemical treatment, and if you have a health condition that affects what you can safely drink, ask a doctor before relying on backcountry sources.
A Simple Routine for Following Blazes Toward Water
- Name your last confirmed mark. Before you move on, note where it is — "on the big chestnut past the second switchback." This is your anchor if things go wrong.
- Look ahead, then behind. Scan ten to fifteen meters forward. If nothing appears, turn around; you should be able to see the previous blaze more often than not.
- Stop at every junction. Find the mark before choosing a branch, not after. If only one branch is blazed, that is your answer.
- Check the opposite direction after a turn. Blazes face the hiker travelling that way, so a mark you can't see going north may be plainly visible looking south.
- Cross-check the spring symbol. If the map shows the source on the left of the trail and the blazes lead right, pause and re-read both. Usually one of them is telling you about a different feature.
When the Marks Stop
They will stop, at least temporarily. Storm-felled trees take trunks down; new growth swallows old paint; a section may be closed for logging. The instinct is to keep walking and hope. Resist it. Stop within a few paces of your last confirmed blaze, put the pack down, and spend two minutes searching — including behind you and slightly off-trail, where a leaning tree may be hiding the mark. If nothing turns up, walk back to the last certainty and reassess from there. Wandering forward in the hope of picking up the thread is how short detours become long ones.
Keep the group together through all of this. A spread-out group at a faded junction is three separate navigation problems.
Before You Leave the Trailhead
Five minutes of preparation covers most of what this guide describes. Mark the intended route on a paper map and keep it accessible — not buried in the pack. Photograph the signpost and the map legend. Note every spring on the route, and circle the second one as your real target. Agree with your group on a turnaround time rather than a turnaround place, since it holds up when the pace is slower than planned. Carry a headlamp for the descent, even on a short walk.
Then relax and let the marks do their quiet work. A well-blazed path to a spring is one of the friendliest things a landscape offers: a line of small red-and-white reassurances that ends, if you have read them well, in the sound of running water.
Photo: Przemek89 / Pixabay