Spring Trail Photography Walk: A Seasonal Route Plan for Nature Lovers
Spring arrives on a trail in stages, and almost none of them announce themselves. One bend is still winter-brown; twenty metres later a flush of green appears where a seep crosses the path, and the stream that was a trickle in February suddenly has a voice. That contrast is exactly why a spring photography walk rewards a plan rather than a wander.
You are not chasing a single viewpoint. You are building a sequence — water first, then woodland detail, then the light on the way home — and giving yourself enough time at each stop to make a photograph instead of taking one. The route below is a template, not a prescription. Adapt the distances to your legs, the hours to the weather, and the stops to whatever the season is actually doing on the day you go.
Read the Season Before You Read the Map
Spring climbs uphill slowly. A valley floor may be in full leaf while a north-facing slope two hundred metres higher is still holding old snow, and that difference is useful: it means you can photograph bare branches and fresh growth within the same short walk. South-facing banks dry out and green up first; north-facing ones stay damp and hold the moss, ferns and liverworts that make the best close-up subjects.
Water levels matter more than most people expect. After heavy rain, streams run high, brown and fast, and photographs of them tend to look like milky coffee. Give it a day or two and the same stream clears, revealing stones, gravel and the green threads of waterweed beneath the surface. If you can, walk the route once in poor conditions and return when it settles. You will already know where the good bends are.
Finally, watch the forecast for the right kind of dull. Bright midday sun in a wood is a difficult, contrasty place to work. An overcast morning flattens the light, saturates the moss and lets you photograph moving water without blown-out highlights. Light rain is not a reason to cancel — it is a reason to bring a cloth and a dry bag.
Shaping the Route Around Three Kinds of Light
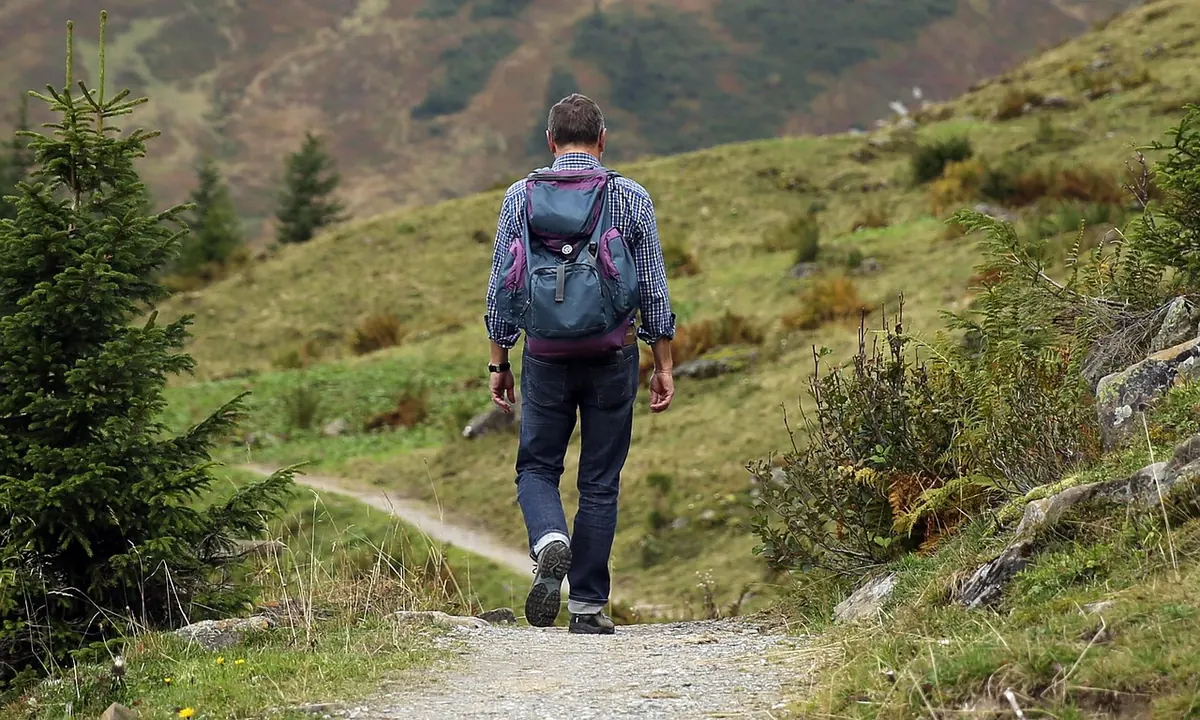
A photography walk works best when it has a shape: an approach, a slow middle, and a return that uses the changing light. Four to six kilometres with a modest climb is plenty. That is roughly a three-hour outing at walking pace, or a very comfortable four hours once you start setting up a tripod.
- The approach, thirty to forty minutes. Walk in with the camera in your pack. Use the time to read the ground: where the path crosses a seep, where the stream widens, where a fallen trunk frames a view. Mark these places in your head, or note them on your phone.
- The water section, sixty to ninety minutes. Stop where the stream is small enough to photograph in one frame. Work the spring head or seep first, then move downstream to two or three cascades. One or two considered frames per idea is enough; ten rushed ones rarely teach you anything.
- Lunch, sitting down, camera closed. Twenty minutes of not looking through a viewfinder resets your eye. It is also when you notice things you walked past.
- The woodland return, forty-five minutes. Now work close: bark, fern croziers, moss on stone, leaf litter, backlit new leaves. If the sun comes out low, this is the stretch where it helps rather than hurts.
- The exit, before the light goes. Leave a comfortable margin of daylight. Descending a wet trail by headlamp with a tripod on your shoulder is not the part of the day worth remembering.
An out-and-back route is often better than a loop for this kind of walk, because you see the same stretch of water in two directions of light and you can save the best location for the way back. A loop gives more variety but compresses your time; if you choose one, keep it short and resist the temptation to add a second valley.
Field Craft: Water, Springs and Woodland Detail
Moving water, made deliberately
Decide what the water should look like before you set the camera up. A slow shutter — somewhere between a quarter of a second and a full second — turns a cascade into something soft and continuous, and needs a tripod, a low ISO and a small aperture. A fast shutter, around 1/250 or quicker, freezes droplets and leaves the stream looking cold and energetic. Both are honest; neither is more correct. Try one of each at the same spot and compare them at home.
Photographing the source itself
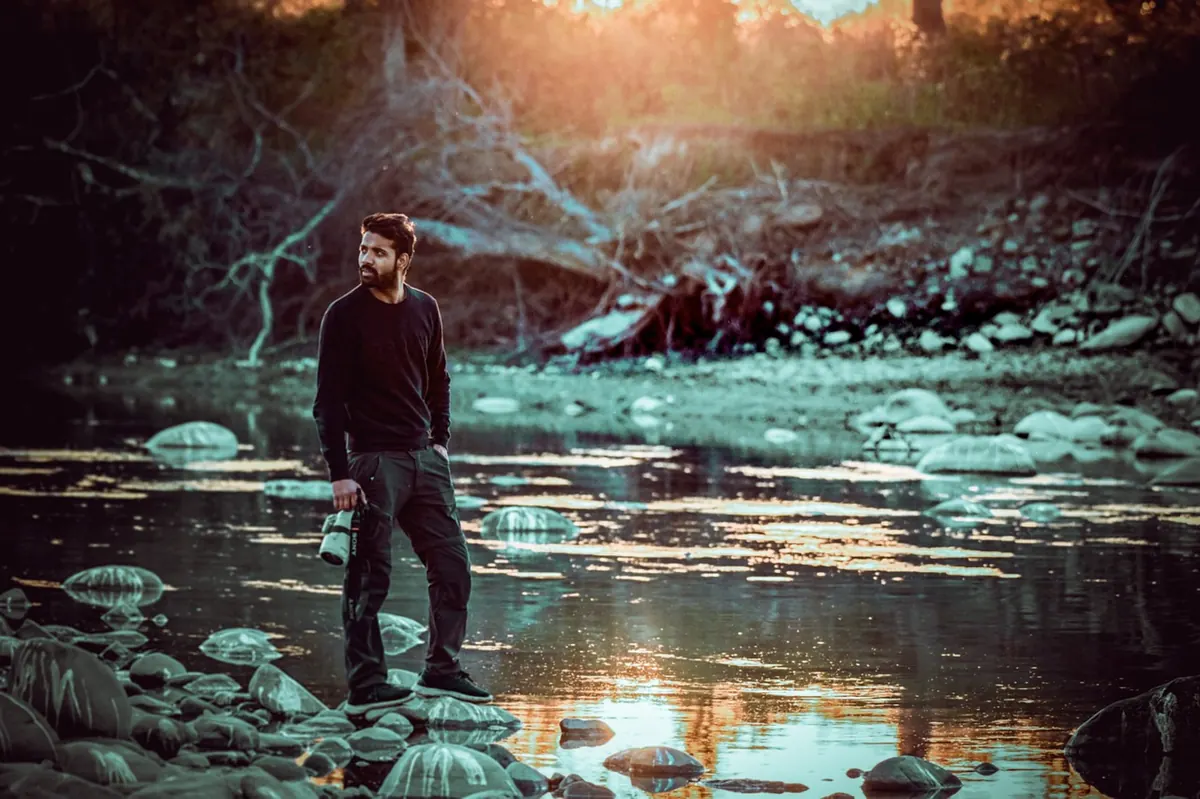
Springs are shy subjects. The point where water leaves the ground is often a dark patch of moss, a scatter of gravel, a small pool the size of a dinner plate. Get low — a knee pad or sit mat earns its place here — and use the camera's screen rather than the viewfinder. A polarising filter is the single most useful accessory at a spring: it cuts the glare on the water surface so you can see stones and weed underneath instead of a sheet of white sky.
Woodland detail
Close-up work in a wood is mostly about patience. Wind is the enemy, so wait for the lull rather than fighting it. Focus manually, use a tripod or rest the camera on your bag, and check the corners of the frame for distracting twigs. Backlight does wonderful things with new leaves and the hairs on fern stems; the same light will put your own shadow across the subject if you stand in the wrong place, so move your feet before you move the camera.
Composition notes worth repeating
- Get the camera low and close to the water for a stronger sense of flow.
- Use a foreground stone or branch to give scale and depth.
- Let the stream run diagonally through the frame rather than down the middle.
- Check the horizon and the verticals; wet rock and leaning trees make slant easy to miss.
- Include one frame at each stop that shows where you are, not just what you found.
Walking Lightly on Wet Ground
The greenest ground in spring is also the softest. Moss cushions, seep-fed banks and the muddy edges of streams are the most fragile parts of the route and the parts photographers most want to stand on. Keep to the established trail and to bare rock, and crouch beside the water rather than in it. A bank trodden once in March can stay scarred for years.
Do not move stones, dam the flow, brush away leaves or "tidy" a scene for the camera; the arrangement you found is the photograph. Never pick wildflowers, however photogenic, and keep tripod feet out of the spring itself. Drones are restricted in many walking areas and disturb wildlife, so check local rules before flying one. Keep groups small, voices low, and if a viewpoint is busy, come back later. Gates closed, livestock undisturbed, litter carried out — the ordinary things, done consistently.
What to Carry
Light and simple beats comprehensive. A camera with one lens, plus a close-up filter or a small macro lens, will cover almost everything described above.
- Camera, spare battery and card, and one general-purpose lens
- Polarising filter and, if you have one, a six-stop neutral density filter
- Lightweight tripod, or a clamp if you prefer to travel fast
- Two microfibre cloths — one for the lens, one for everything else
- Waterproof stuff sack or dry bag for the camera between stops
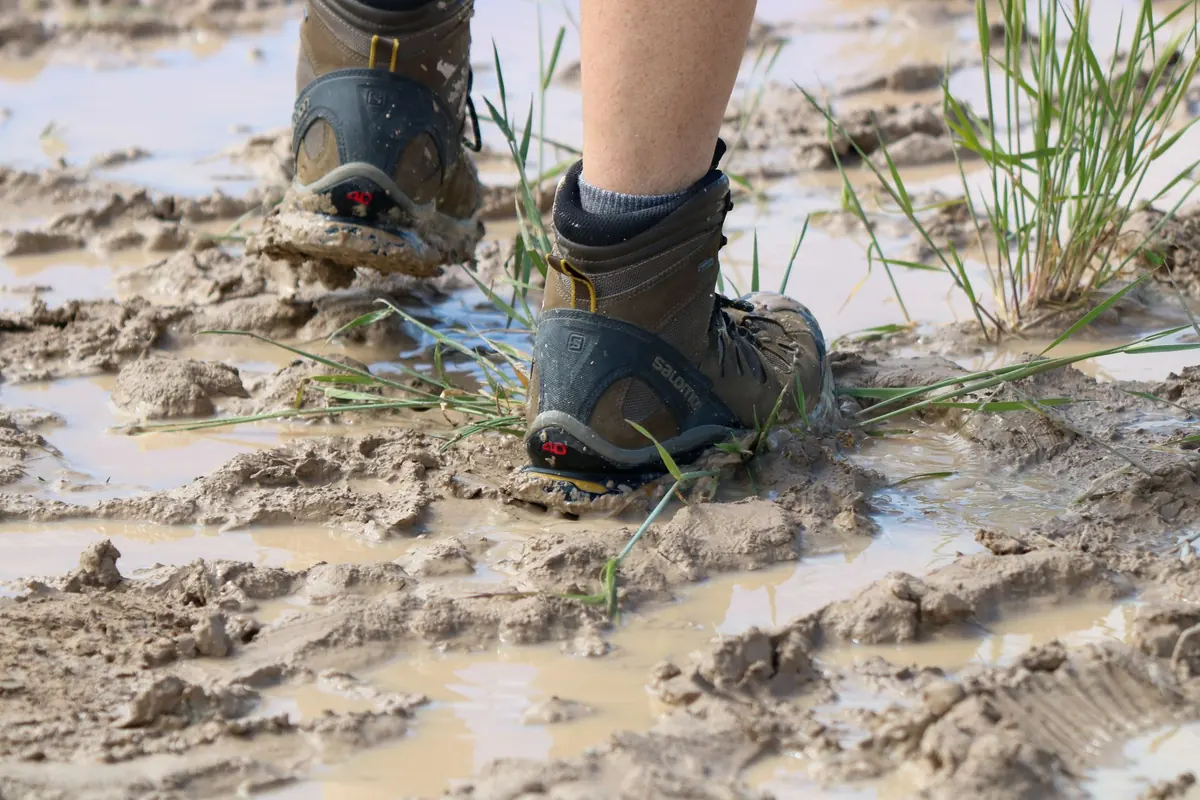
- Boots with real grip, and a knee pad or sit mat
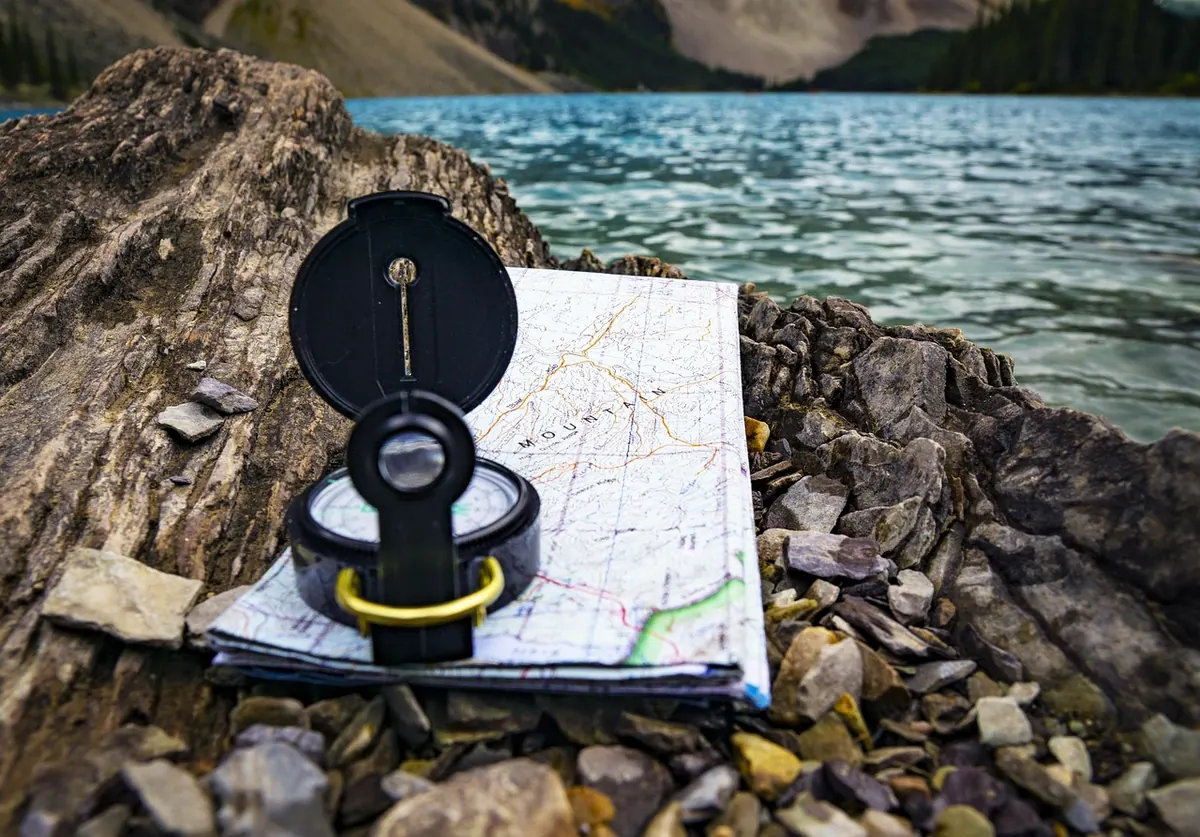
- Map, charged phone, water, food, headlamp, small first-aid kit
- A bag for your own rubbish, and gloves if you plan to pick up anyone else's
Before You Go: A Short Practical Close
Check the rainfall of the previous two or three days as well as the forecast for the day itself. Tell someone where you are going and when you expect to be back, and build in an extra hour for the stops you will inevitably make. Stream crossings that were easy on the way up can rise quickly after rain, and cold, fast water is not worth arguing with — turn around if it looks wrong.
Start early, both for the light and for the parking. Wet rock, roots and wooden footbridges are slippery in spring, so shorten your stride on descents. Keep batteries warm inside a jacket pocket if the morning is cold, and accept that you will probably come home with fewer photographs than you expected and one or two better ones than you deserve. That, more than mileage, is what a spring photography walk is for.
Photo: viralbug916 / Pixabay