Beginner's Guide to Hiking Spring Trails Without Running Out of Water
Spring is the season when a short trail can turn into a long lesson. The air is cool, the woods smell of wet earth, and the first climb feels easier than it did in July — which is exactly why so many beginners walk further than they planned and drink less than they should. Add snowmelt streams that disappear by mid-May, trailhead taps that stay switched off until the season officially opens, and a map that still shows a spring you cannot find, and you have the classic spring situation: a beautiful route with uncertain water. The fix is not fancy gear. It is a plan you can make at the kitchen table the night before.
Why Spring Trails Are Tricky About Water
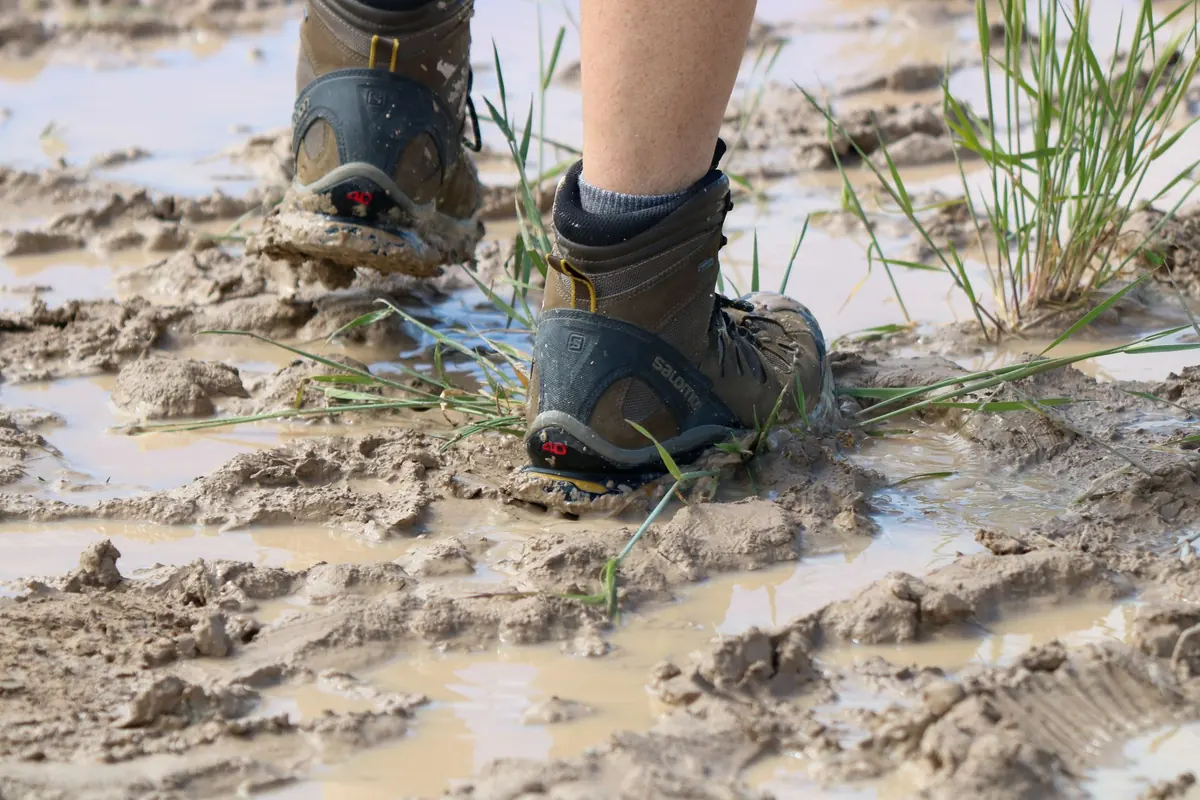
Cool air is the main culprit. You feel comfortable, so you assume you are not losing much fluid, while your body is quietly working: breathing cold dry air, sweating under a shell on the climbs, and burning extra energy on mud and old snow patches that swallow your boots. Thirst arrives late in these conditions, often an hour after you actually needed the water.
Water sources behave differently too. Many marked springs are seasonal and simply dry by late spring. Snowmelt streams run strong in the morning and can shrink or turn muddy by mid-afternoon. Mountain huts and refuges may be closed, with their taps and fountains shut off, until the summer season starts. And a spring on a map can turn out to be a small pipe in a wall with no flow at all. None of this is dangerous if you expect it. It becomes a problem when you have built your whole day around one refill that isn't there.
Plan Your Water Before You Leave Home
Treat water planning as part of route planning, not an afterthought. The evening before, spend fifteen minutes on three things.
- Check the current situation. Look at the local park, refuge, or trail association page, and read recent trail reports. Words like "dry", "no water after the pass", or "spring not flowing" are what you are scanning for.
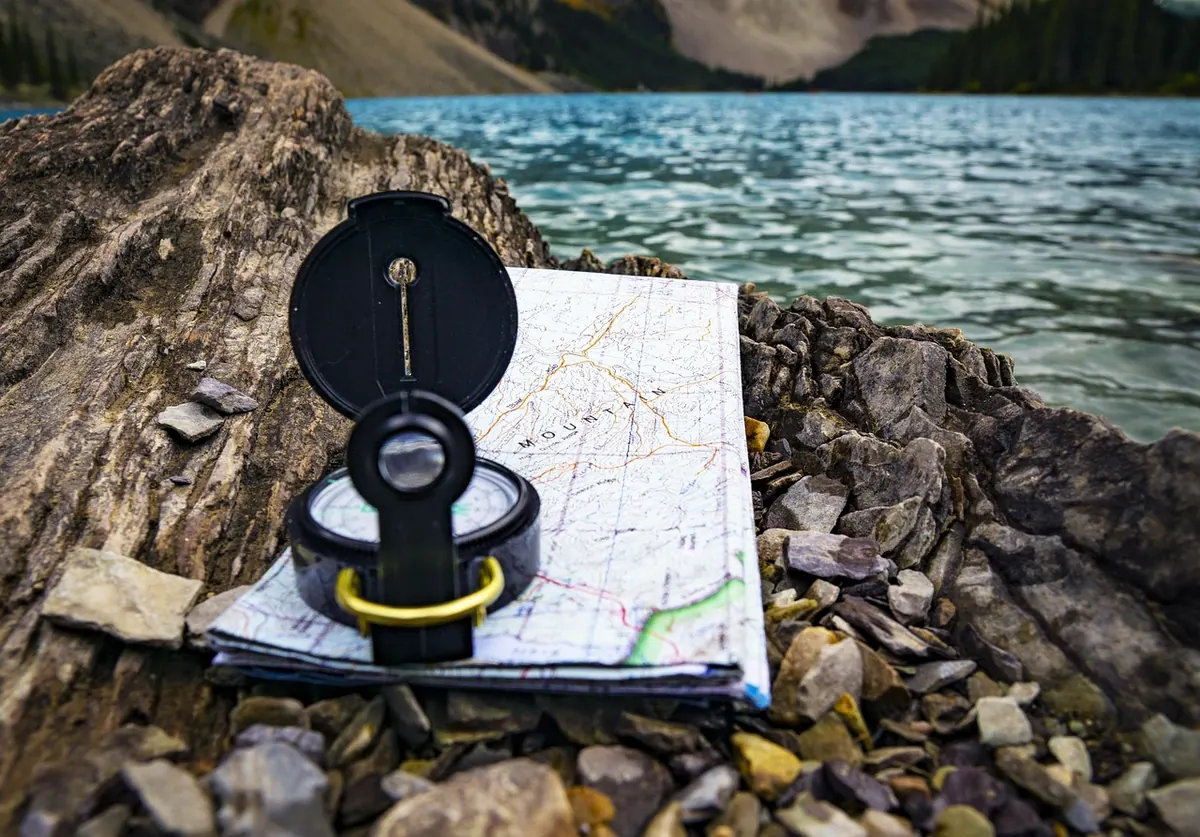
- Mark two or three possible refills on your map, and note which are reliable and which are seasonal guesses. Assume the guesses will fail.
- Choose a turnaround point that is based on water rather than distance. A simple rule works well: turn back when half your water is gone, even if the summit looks close.
Turn around when half your water is gone, not when you finish it.
If you can, ask a local — a park warden, a refuge keeper, a hiker coming down the trail. One question about whether the spring above the second bridge is running will tell you more than a map legend ever will.
How Much Water to Carry, and How to Carry It
Fluid needs vary enormously between people, pace, weather, and terrain, so treat numbers as a starting point rather than a prescription. As a rough guide, many hikers drink somewhere between half a litre and a litre per hour — closer to half in cool spring weather on gentle ground, closer to a litre on steep climbs or a warm afternoon. For a beginner half-day of three to four hours, 1.5 litres is a sensible minimum and 2 litres is safer.
Carry an extra half-litre, sealed, that you do not touch unless something goes wrong. It weighs almost nothing and it changes the way the day feels.
On carrying: two one-litre bottles are easier to ration and easier to check than a bladder you cannot see into, and they let you keep one in a side pocket for sipping. A bladder encourages steady drinking, which is good, but it hides your remaining supply, which is not. Choose what you will actually use, and keep at least one bottle within reach without taking your pack off.
If you sweat heavily, add a salty snack or a light electrolyte drink rather than drinking more plain water than you need. And if you have a medical condition, take medication, or are pregnant, ask a doctor about your fluid needs before you rely on general advice — it is a short conversation that removes a lot of guessing.
Drink on a Schedule, Not on Thirst
Thirst is a lagging indicator. By the time your mouth feels dry on a cool spring climb, you are already behind. A simple routine keeps you ahead of it:
- Drink a glass or two of water before you start walking — enough to be comfortable, not enough to slosh.
- Take three or four mouthfuls every 15 to 20 minutes, whether or not you feel like it.
- Drink at every natural pause: a junction, a gate, a switchback, a viewpoint.
- Drink after every steep section, when your breathing settles.
- Empty one bottle by lunchtime if the day is warm or the climbing is steady.
- Keep the sealed reserve closed until you are genuinely in trouble.
Small and often beats large and rarely. Gulping half a litre at once sits heavily in the stomach and does less for you than the same amount spread over an hour.
Pace Yourself and Save Your Water
Water use is not only about drinking. The harder you push, the more you breathe, the more you sweat, and the more you need. Pacing is a hydration skill.
Start slower than feels right
The first twenty minutes set the tone for the day. Use the talk test: if you cannot speak a full sentence without gasping, ease off. A beginner's steady rhythm on a climb is often slower than pride suggests — roughly 300 metres of ascent per hour including breaks is a fair target on mountain terrain.
Take breaks that actually rest you
Five minutes every hour, pack off, in shade if there is any. Standing with your pack on and your poles in your hands is not a break. Sit down, breathe, sip, eat something small.
Let the terrain set the tempo
Shorten your steps on steep ground instead of speeding up and stopping. On long climbs, pick a rhythm you could hold for an hour. Rushing a sunny section to reach shade faster usually costs more fluid than it saves.
Reading the Signs, and When to Turn Back
Early warnings are easy to miss and easy to act on: thirst that doesn't pass, a dry mouth, a dull headache, dark yellow urine, unusual tiredness, or going off your snacks. Later signs are clearer — dizziness, nausea, feeling chilled in warm weather, or confusion in yourself or a companion.
If you notice the early ones, stop. Find shade, sit, sip slowly rather than gulping, eat something with salt, and give it fifteen minutes. If you are not clearly better, descend. Going down is almost always the right move, and it is far easier from the first warning than from the third. Persistent or worsening symptoms need medical help rather than another rest stop.
Two more spring habits worth keeping. Treat all surface water as uncertain: a filter, tablets, or a boil is cheap insurance against a bad week, and clear snowmelt is not automatically clean. And do not eat snow for hydration — it takes energy and heat to melt, and it chills you at the worst moment.
A Spring Trail Water Checklist
- Route checked for current water conditions, with two refills marked and a turnaround chosen
- 1.5 to 2 litres carried, plus a sealed half-litre reserve
- One bottle reachable without stopping and removing your pack
- Filter, tablets, or a plan to boil
- Drink before starting; sip every 15 to 20 minutes
- A real five-minute break each hour
- A salty snack in the top of the pack
- Someone at home knows your route and your return time
Spring rewards hikers who plan for a slightly drier mountain than the map promises. Carry a little more than you think you need, drink before you are thirsty, walk at a pace that lets you talk, and treat half a bottle as your signal to head back. Do that, and the season's uncertain water stops being a worry and becomes just another detail you have already handled.
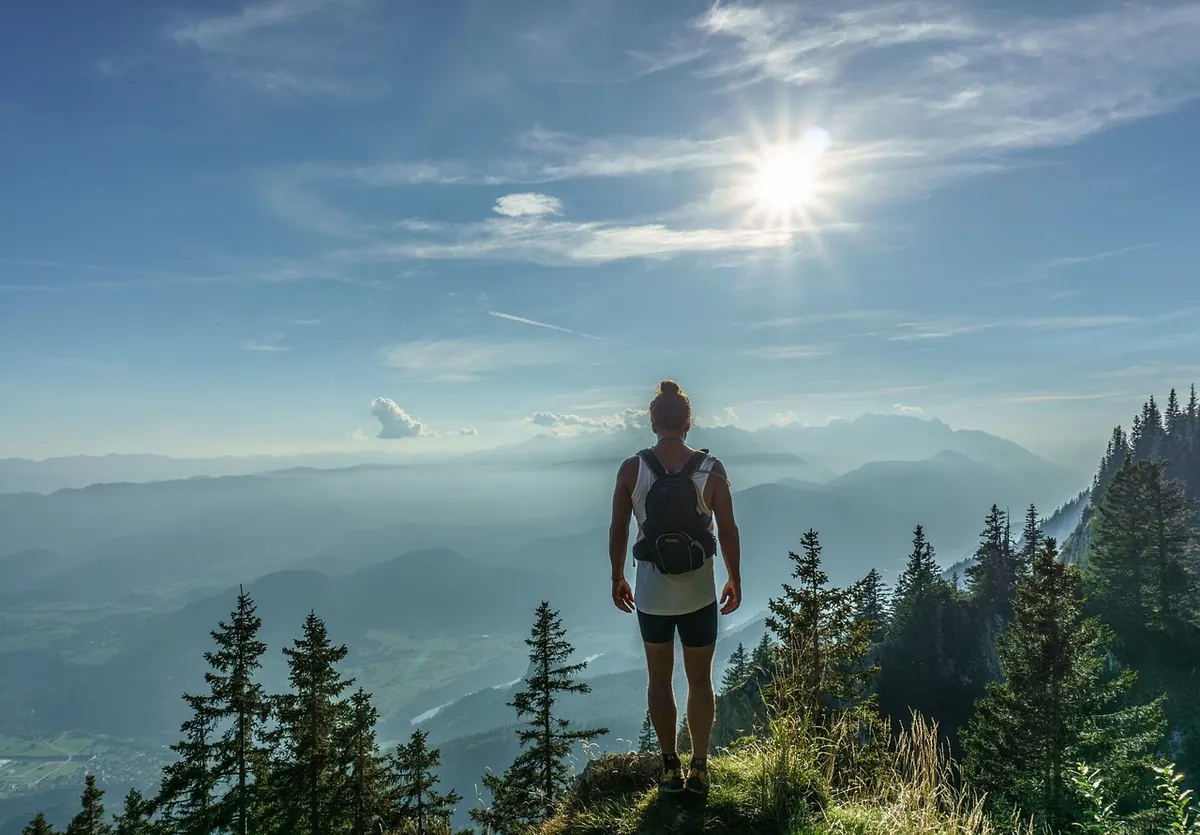
Photo: dreamypixel / Pixabay