How to Plan a Spring-Fed Trail Hike: Route, Water, and Weather Checklist
A spring on the map can look like a sure thing. On the ground, it may be a clear pool, a trickle in moss, a stock tank, or a dry patch of stones. Planning a spring-fed hike is less about chasing a beautiful water source and more about deciding how much you will depend on it. The best trips pair a realistic route with an honest water plan and a weather check that starts days before you leave. Use this checklist to sort out all three before you commit to a trailhead.
Know What the Spring Is Before You Count on It
Start with the map and read the label carefully. A marked spring is not the same as a spring-fed creek, and a creek that runs through the valley may be nowhere near your route. Look for notes such as “seasonal,” “intermittent,” or “reliable” in guidebooks, land-manager notices, and local trail reports. A piped spring may be a spring box with a pipe and a small catchment; a natural seep may be little more than wet ground. Both can be useful, but they are not equally dependable.
Reliability changes with the season
Spring flow follows the water year. Snowmelt can keep a source running into early summer, while a dry autumn can leave it reduced to a damp patch. A spring that is strong in May may be unreliable by August, and a low-elevation source can disappear sooner than a high one. Treat any water source as a maybe until you have a backup plan. If the route has no other source, carry enough water for the entire hike rather than betting on a trailside refill.
Also check where the spring sits relative to your route. A short detour to a reliable spring is different from a half-hour descent off a ridge. If the source is below a steep slope or across a brushy drainage, you may spend more time and energy reaching it than you planned.
Build the Route Around Water, Daylight, and an Exit
Choose the route after you know the water situation, not before. A spring-fed loop can be a fine objective, but only if the spring is a bonus rather than the only reason the route works. Favor routes with options: an out-and-back that lets you turn around early, a loop with a road crossing, or a trail with a clear bailout point. A shorter route with a reliable plan beats a longer one that depends on a source you have never seen.
- Mark every possible water source on your map and note its type, season, and distance from the trail.
- Choose a route where the spring is a bonus, not the only supply, unless you are carrying all the water you need.
- Set a turnaround time based on daylight, weather, and your pace, then write it down.
- Identify exits such as road crossings, trail junctions, and shorter return routes.
- Share the plan with someone who will notice if you are late.
Estimate your pace with the terrain in mind. A trail that looks short on paper can take longer with mud, snow, creek crossings, or a full pack. Add time for photos, snacks, and navigation checks, and keep a margin before dark. In spring, daylight is growing but temperatures can still drop quickly in the afternoon.
Read the Weather Window, Not Just the Forecast Icon
Check the forecast more than once: two or three days out, the night before, and again at the trailhead. Look at recent rain and snowmelt, not only the day’s high temperature. A sunny Saturday after a wet week can mean muddy trails, swollen streams, and slippery roots. In mountain terrain, a valley forecast may miss wind, cloud, or an afternoon storm on the ridge. Plan for the weather you may meet, not the weather you hope for.
- Recent precipitation: rain or snowmelt can raise creeks and make spring crossings unsafe.
- Storm timing: afternoon thunderstorms may argue for an early start and an exposed-section turnaround.
- Temperature and wind: a warm trailhead can turn cold on an open ridge or in shade.
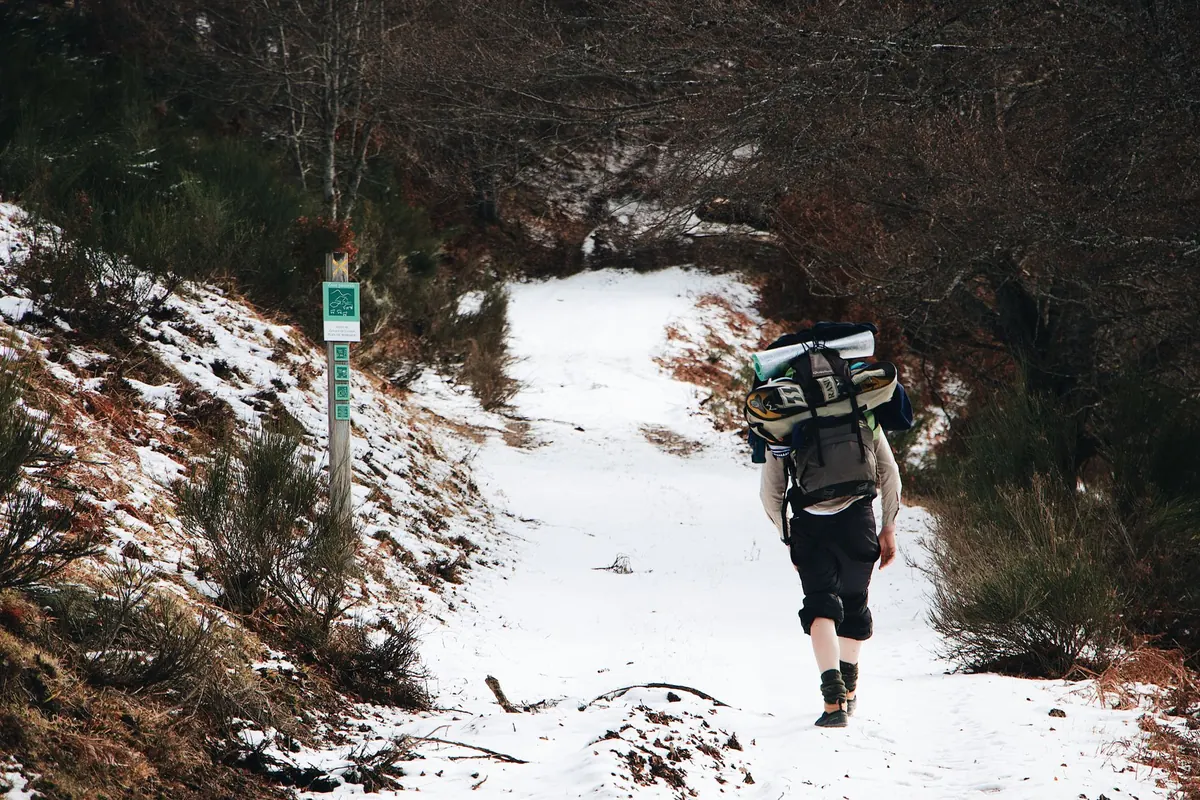
- Snow and ice: lingering spring snow can hide the trail and slow your pace.
If a crossing looks high or fast, do not treat it as a challenge to solve on the spot. Change the route, wait, or turn back. The same rule applies to lightning, strong wind, and falling temperatures. A spring-fed hike is still a weather-dependent hike.
Treat Every Spring as a Question, Not a Guarantee
When you reach a spring, look before you drink. Note the flow, the source, and what is around it. A clear trickle can still run through animal country, a grazing area, or a drainage with upstream activity. Clarity is not a test of safety. Carry a filter or purification method you know how to use, and follow the manufacturer’s instructions. If the source looks questionable, if the flow is too low to collect from cleanly, or if you are unsure, move on and use your backup water.
Do not plan to “find water when we get there” unless the route has reliable sources and you have the gear and time to treat it. A spring is a useful planning feature, not a substitute for carrying water. If you have a health condition that affects hydration or water intake, talk with a healthcare professional before relying on backcountry sources.
Pack for Water Uncertainty and Spring Conditions
Spring trails often mean mud, runoff, and cool starts. Pack for the route you might actually get: a wet crossing, a dry spring, a slower pace, or a colder afternoon. Carry more water capacity than you expect to use, plus a backup treatment method. Keep navigation tools separate from your phone, and carry a headlamp even if you plan to finish in daylight.
- Water bottles or reservoirs with enough capacity for the full route and a margin
- Filter or purification tablets, plus a backup method
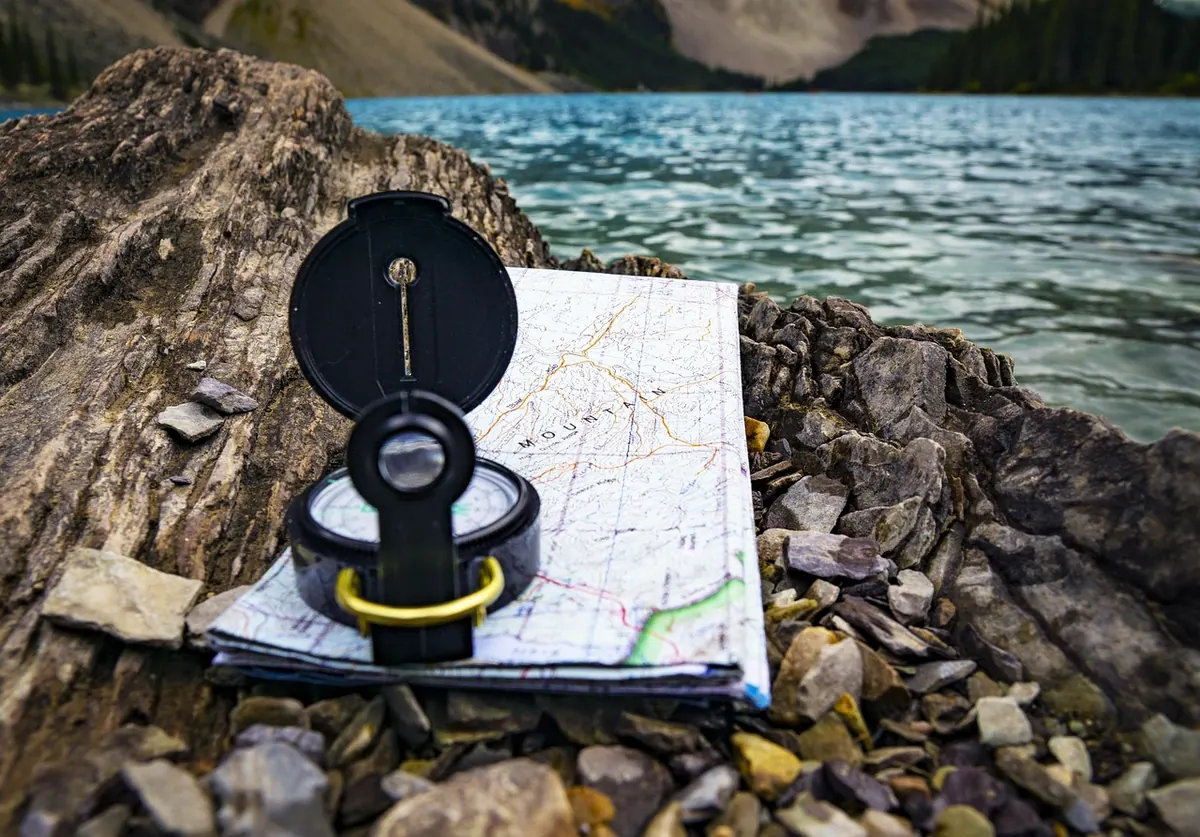
- Map, compass, and an offline navigation app or GPS device
- Rain shell, insulating layer, hat, and gloves
- Headlamp, first-aid kit, emergency blanket, and a small repair kit
- Snacks, lunch, and a little extra food
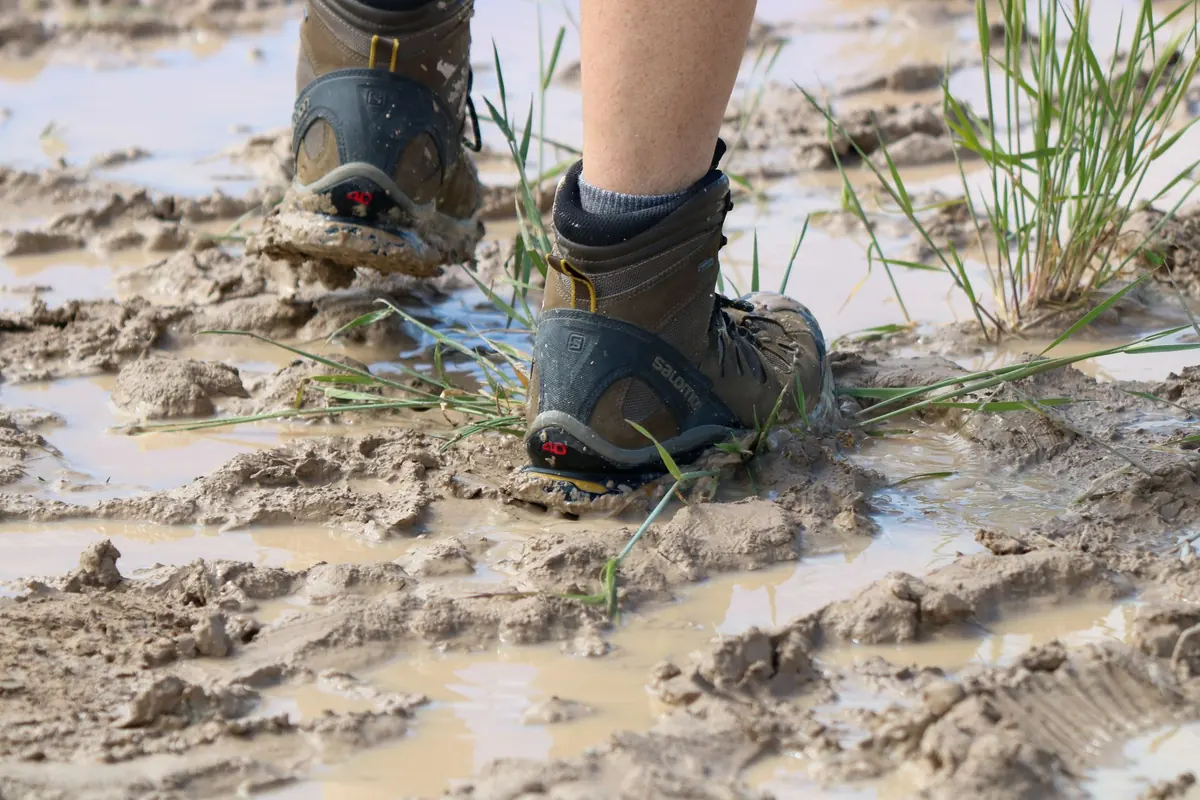
- Quick-dry footwear, spare socks, and trekking poles for muddy or uneven ground
Keep the water plan visible. Write the spring locations and your turnaround time on a small card or in your notes. If you are hiking with a group, agree on the plan before the trailhead so no one assumes a dry spring will be someone else’s problem.
The Night-Before and Trailhead Routine
The night before, check the forecast again and confirm that your route still matches the water situation. Fill your bottles, test your filter, and pack the map where you can reach it. Leave your itinerary with a friend or family member, including your vehicle location and expected return time. At the trailhead, look at the sky, check the trail register if there is one, and give yourself one last chance to change the plan.
If the spring is dry, the crossing is high, or the weather has turned, switch to a shorter route or a different objective. That is not a failed hike; it is good planning working as intended. A spring-fed trail is most enjoyable when the water is a pleasant surprise, not the thing your whole day depends on.
Photo: Maël BALLAND / Pexels